
Have you ever thought about how you can bring out your creativity in Microsoft Word without using any fancy software? You're at the right place! To Draw in Microsoft Word might seem a little scary at first, but with some helpful tips and tricks, you'll be making amazing art in no time.
Whether you want to give your documents a personal touch or just want to try out another feature of this useful program. I'll guide you through the basics of drawing in Microsoft Word, so you can easily add that creative touch to your projects. Let's dive in and turn those boring documents into interesting, visually appealing creations!
Overview of Microsoft Word Drawing Tools
When you want to add creativity to your Microsoft Word files, learning how to use the drawing tools can make your project impressive. Let's explore these tools together to make your documents more eye-catching.
Inserting Shapes
To unlock your creative side in Microsoft Word, start by adding shapes. Whether you're making a flowchart, designing a newsletter, or just sprucing up your document, shapes can give it a nice touch.
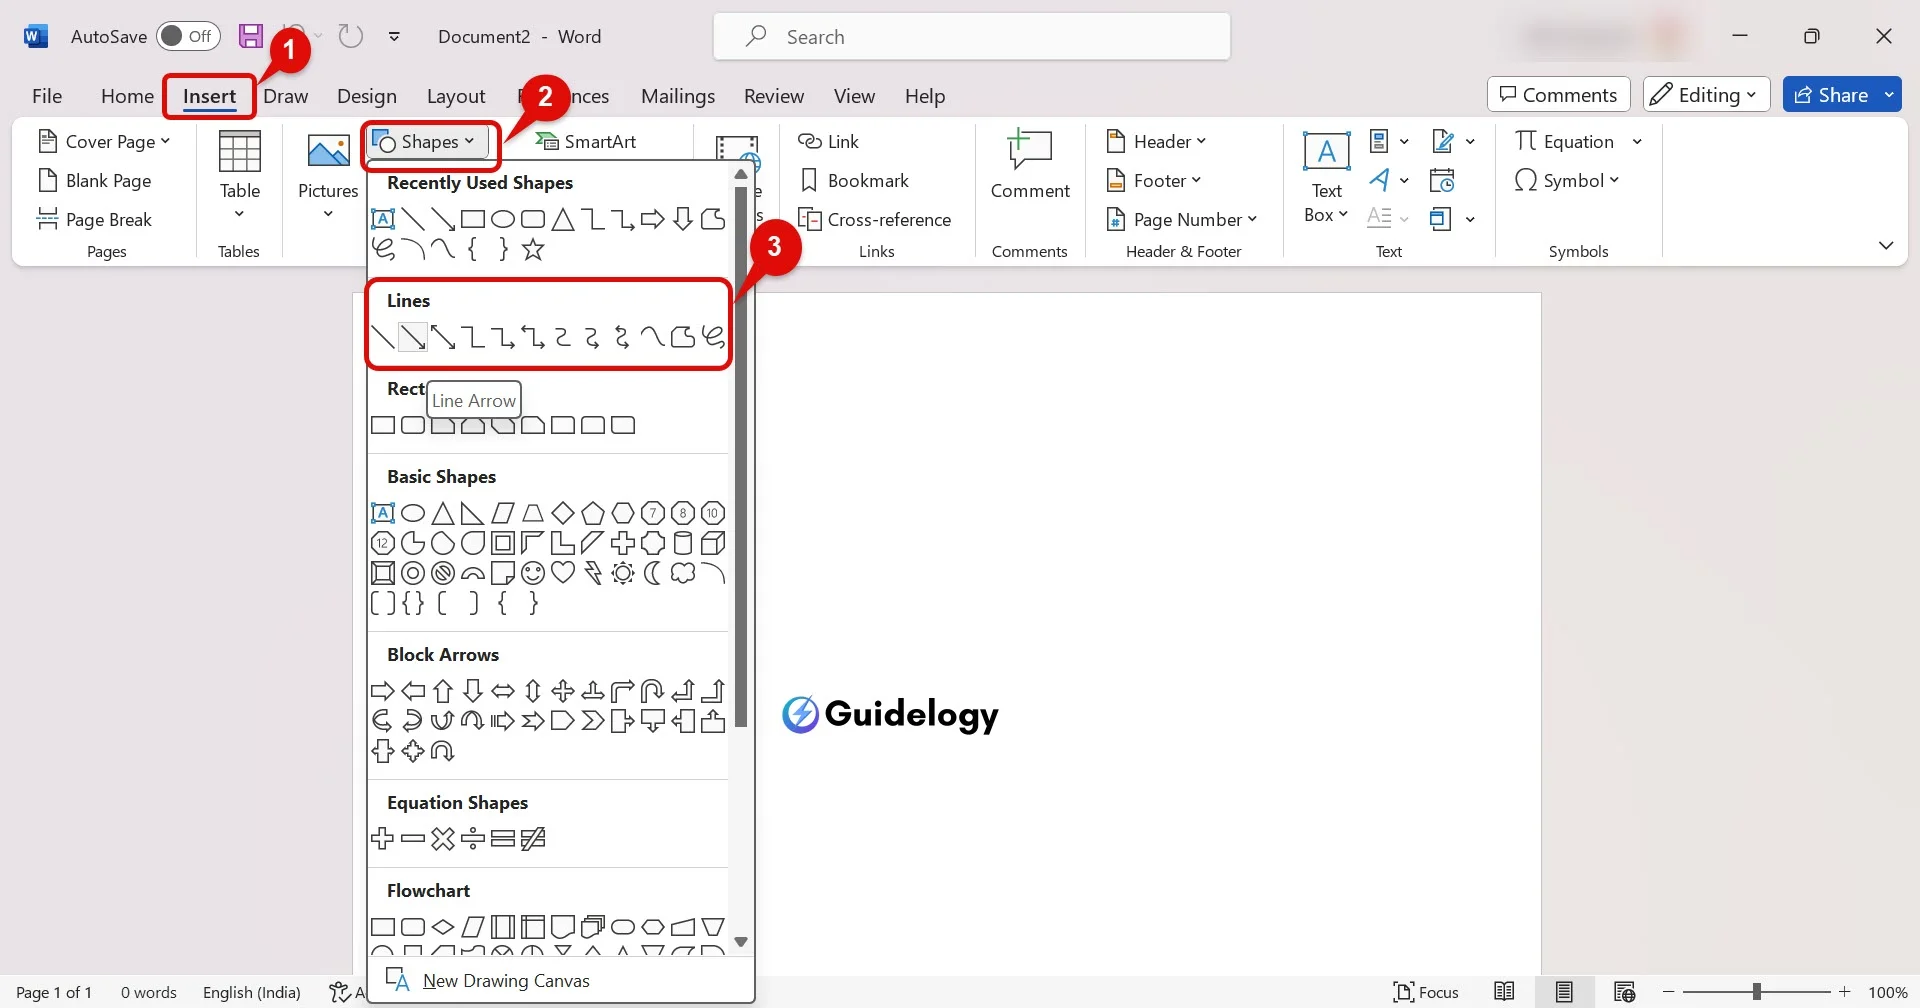
To add a shape, go to the Insert tab, click on Shapes, and choose from various options like rectangles, circles, arrows, and even fancier ones like stars and callouts. Once you pick a shape, click and drag it onto your document. But wait, there's more! You can adjust its size, color, and outline to match your document's style perfectly. I'm here to help you make your document look just right!
Real-life example: A business analyst uses rectangular and arrow shapes to create a streamlined, easy-to-understand process flowchart, effectively communicating complex processes to team members.
Using the Drawing Tools Tab
When you add a shape or try to draw freely, you can get creative with the Drawing Tools Format tab. This tab shows up only when you select a shape or use the drawing tool and gives you lots of ways to customize your work.
Here, you can fine-tune your inserted shapes or sketches by adjusting:
- Fill color: Change the inside color of your shapes to make them stand out.
- Outline: Modify the color, weight, and style of your shape’s borders.
- Effects: Apply shadow, reflection, glow, and even 3D effects to give your shapes a professional and polished look.

With these tools, you can make plain shapes look interesting in your document. For example, by adding a light shadow to shapes in an organization chart, you can make it look more 3D and attractive.
If you get to know these tools, you'll see that Microsoft Word is more than just a typing program; it's great for making visuals. By putting in shapes and using all the Drawing Tools options, you're on your way to creating documents that not only say what you want but also grab your reader's attention with cool visuals.
How To Draw in Microsoft Word
When you draw in Microsoft Word, knowing the basics can really make your documents look better. Whether you're making a business report or personal project, using these techniques will help your work stand out.
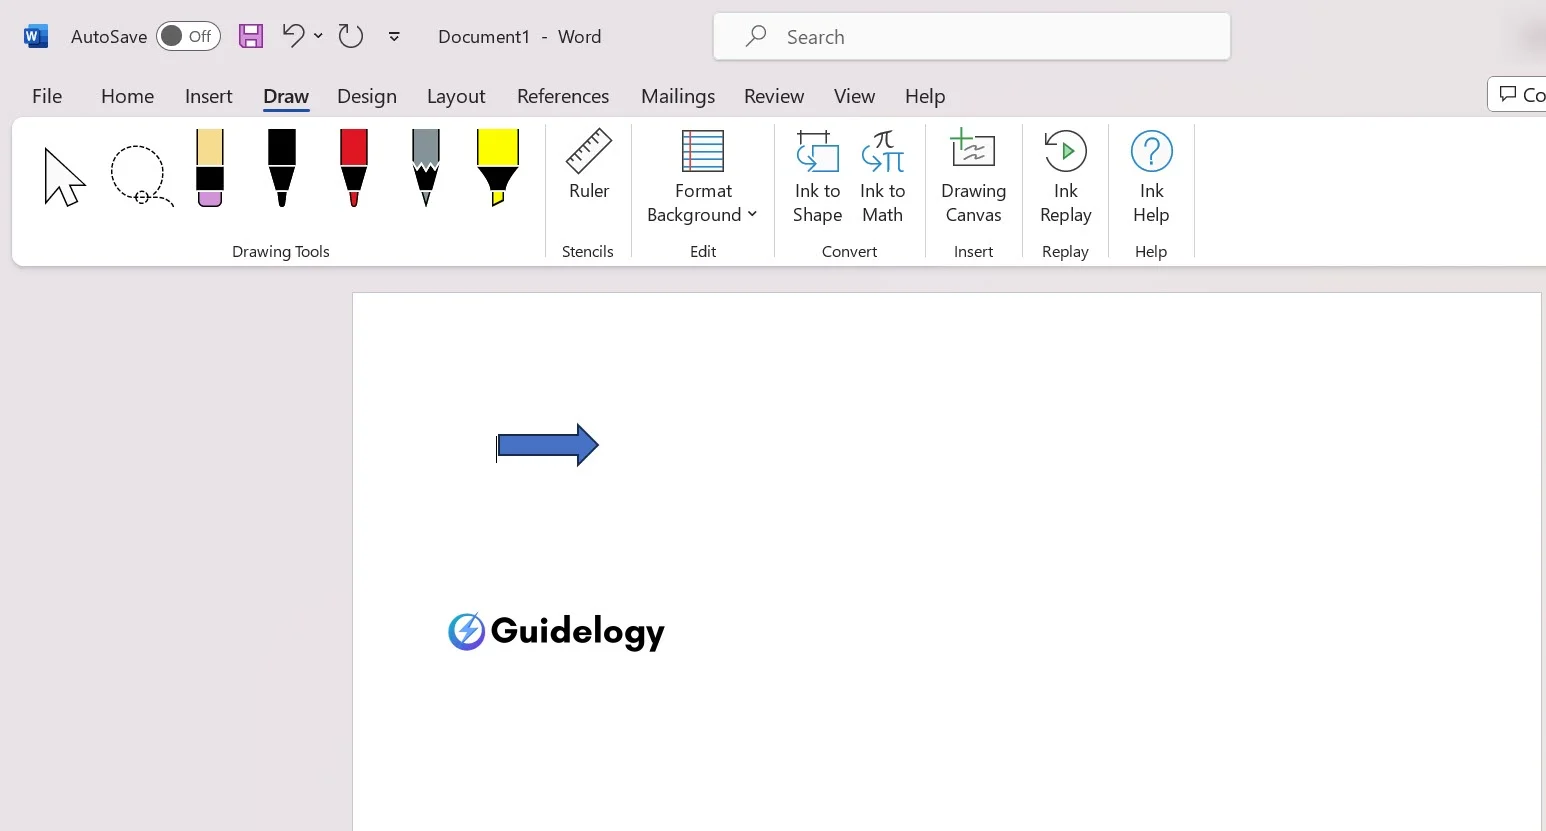
Drawing Lines and Arrows
Drawing lines and arrows in Microsoft Word is easy and can really help make your document look better. To begin, go to the “Insert” tab, then click on “Shapes” and pick a line or arrow from the options. You can make straight lines or arrows by clicking and dragging your mouse where you want them on your document.
When you're working on more complicated diagrams, you can try using elbow arrows or curved lines. You can adjust them by dragging the handles that show up when you select them. These tools are great for making flowcharts or showing connections between different sections of your document.
Creating Basic Shapes
To make your message stand out, you can use shapes in Microsoft Word. There are different shapes like squares, circles, and stars that you can add to your document.
To add a shape, go to the “Insert” tab, click on “Shapes,” and choose the shape you want. Then, just click and drag on the document to draw it. If you need a specific size, you can adjust the shape by dragging its corners.
One effective way to use shapes is to create visually appealing callouts or info boxes. For instance, inserting a rounded rectangle beneath a significant quote or piece of data draws the reader’s attention effectively.
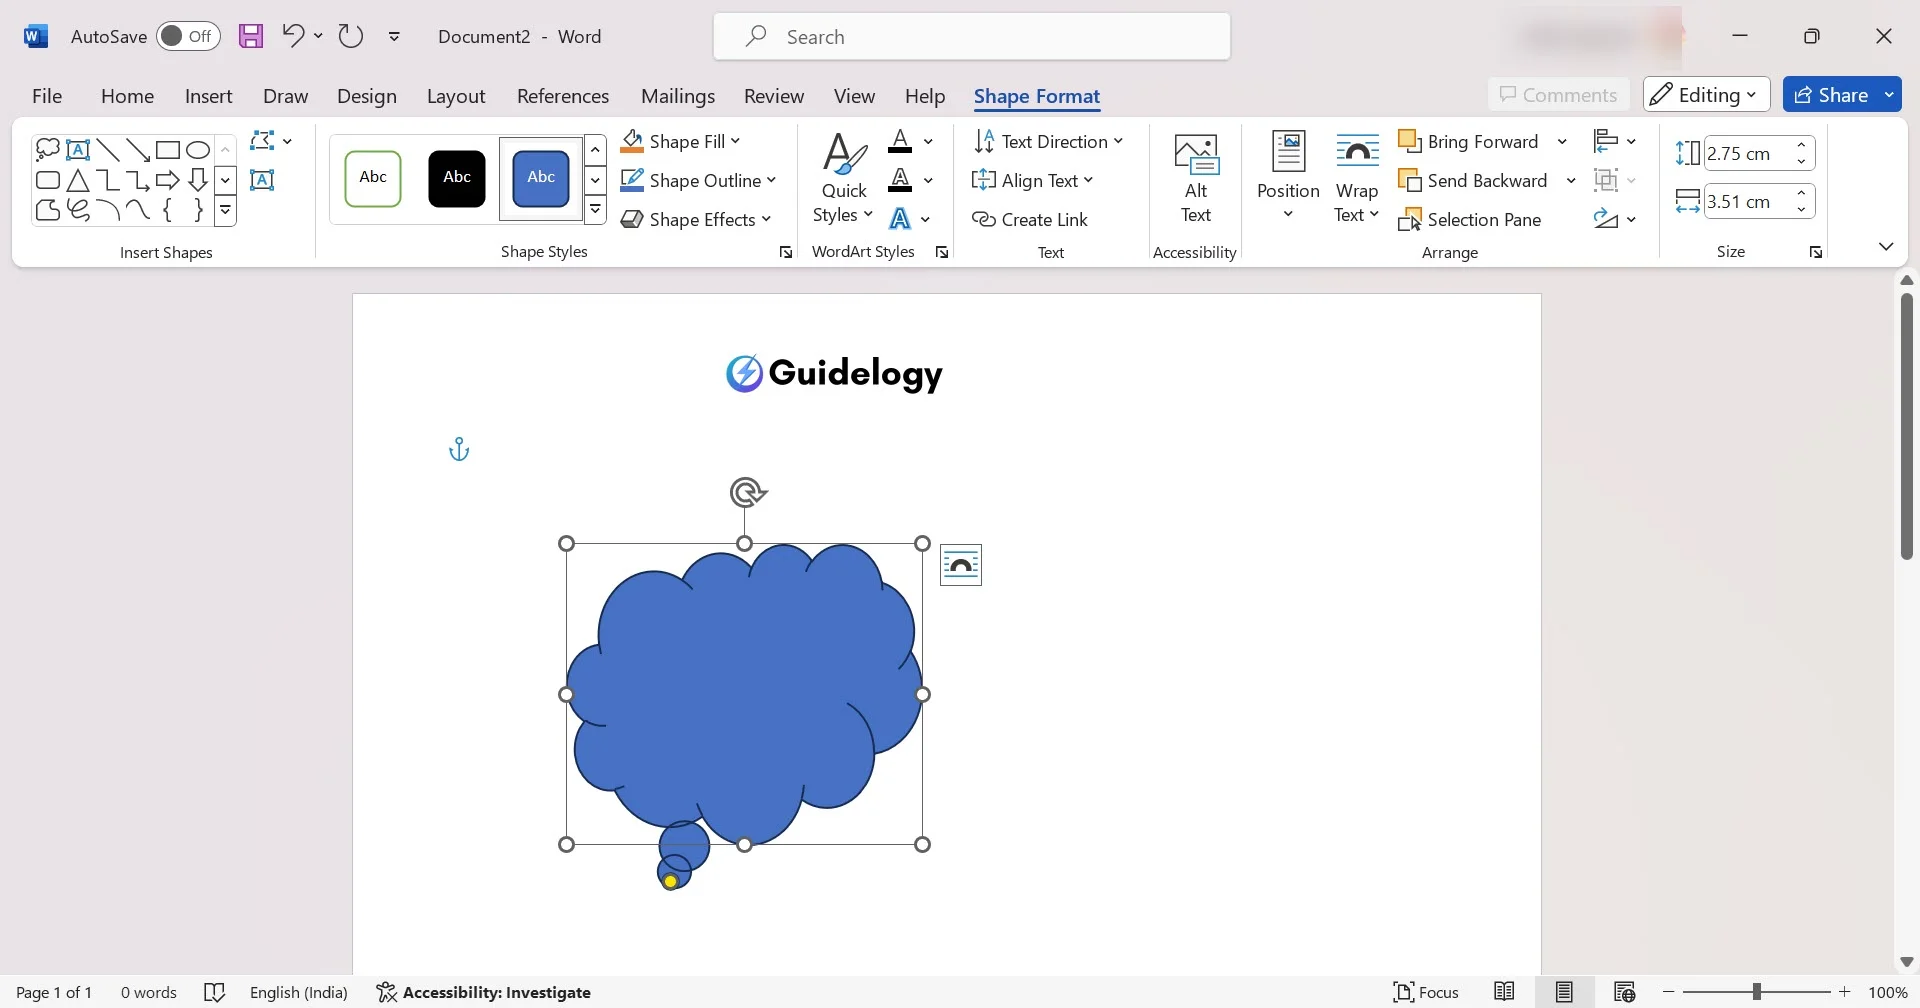
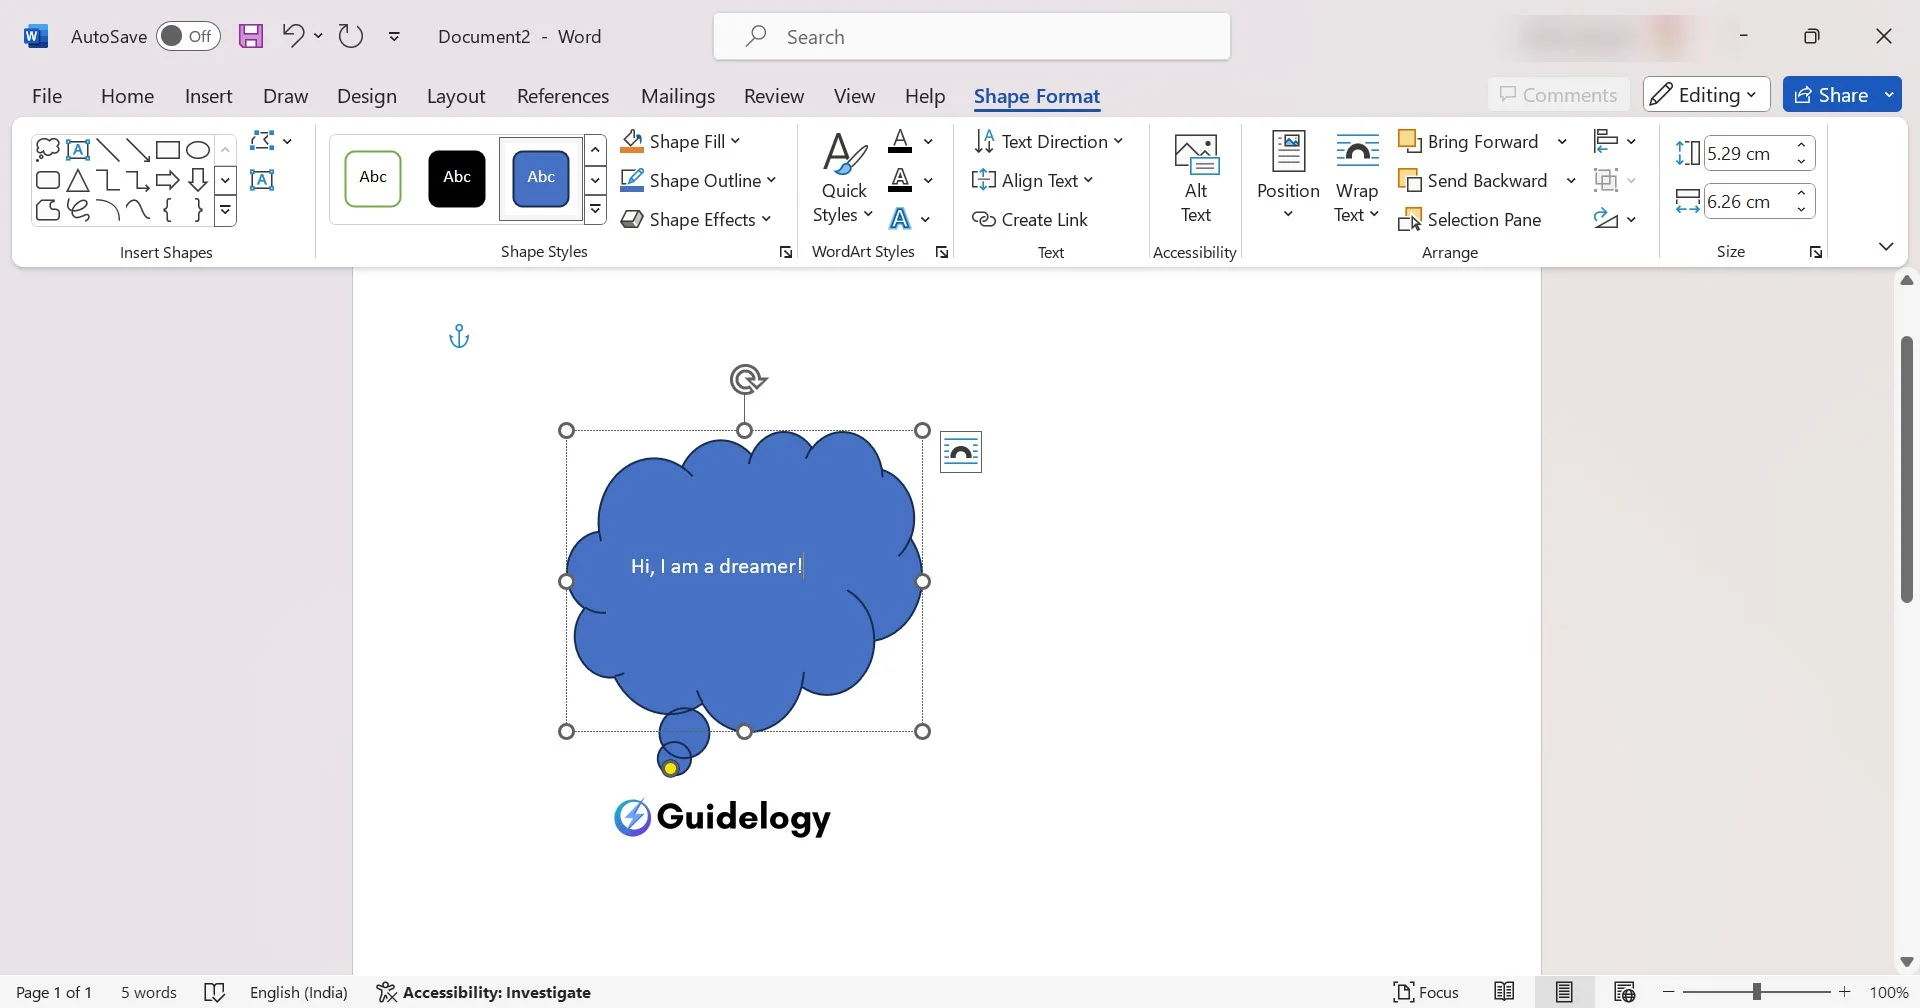
Adding Text to Shapes
Adding text inside shapes can make your document look better and easier to read. Once you insert a shape, just right-click on it and select “Add Text.” Then, you can type directly into the shape.
To change how the text looks, click on the text box and go to the “Drawing Tools Format” tab. There, you can choose different fonts, sizes, and colors to make your text more noticeable. Remember, putting text inside shapes isn't just about looks—it's about giving your document more information and making it more interesting.
By utilizing these basic drawing techniques, you'll find that Microsoft Word is capable of much more than just text processing. It’s a versatile tool that can bring your creative ideas to life, enhance communication, and elevate the professional quality of your documents. Engaging with these features not only improves the visual appeal but also the overall effectiveness of your communication.
Advanced Drawing Techniques in Microsoft Word
When you know how to draw basic things in Microsoft Word, you can try out some advanced tricks to make your documents look really amazing. These cool techniques help you make fancier and more unique pictures that can make your projects much better.
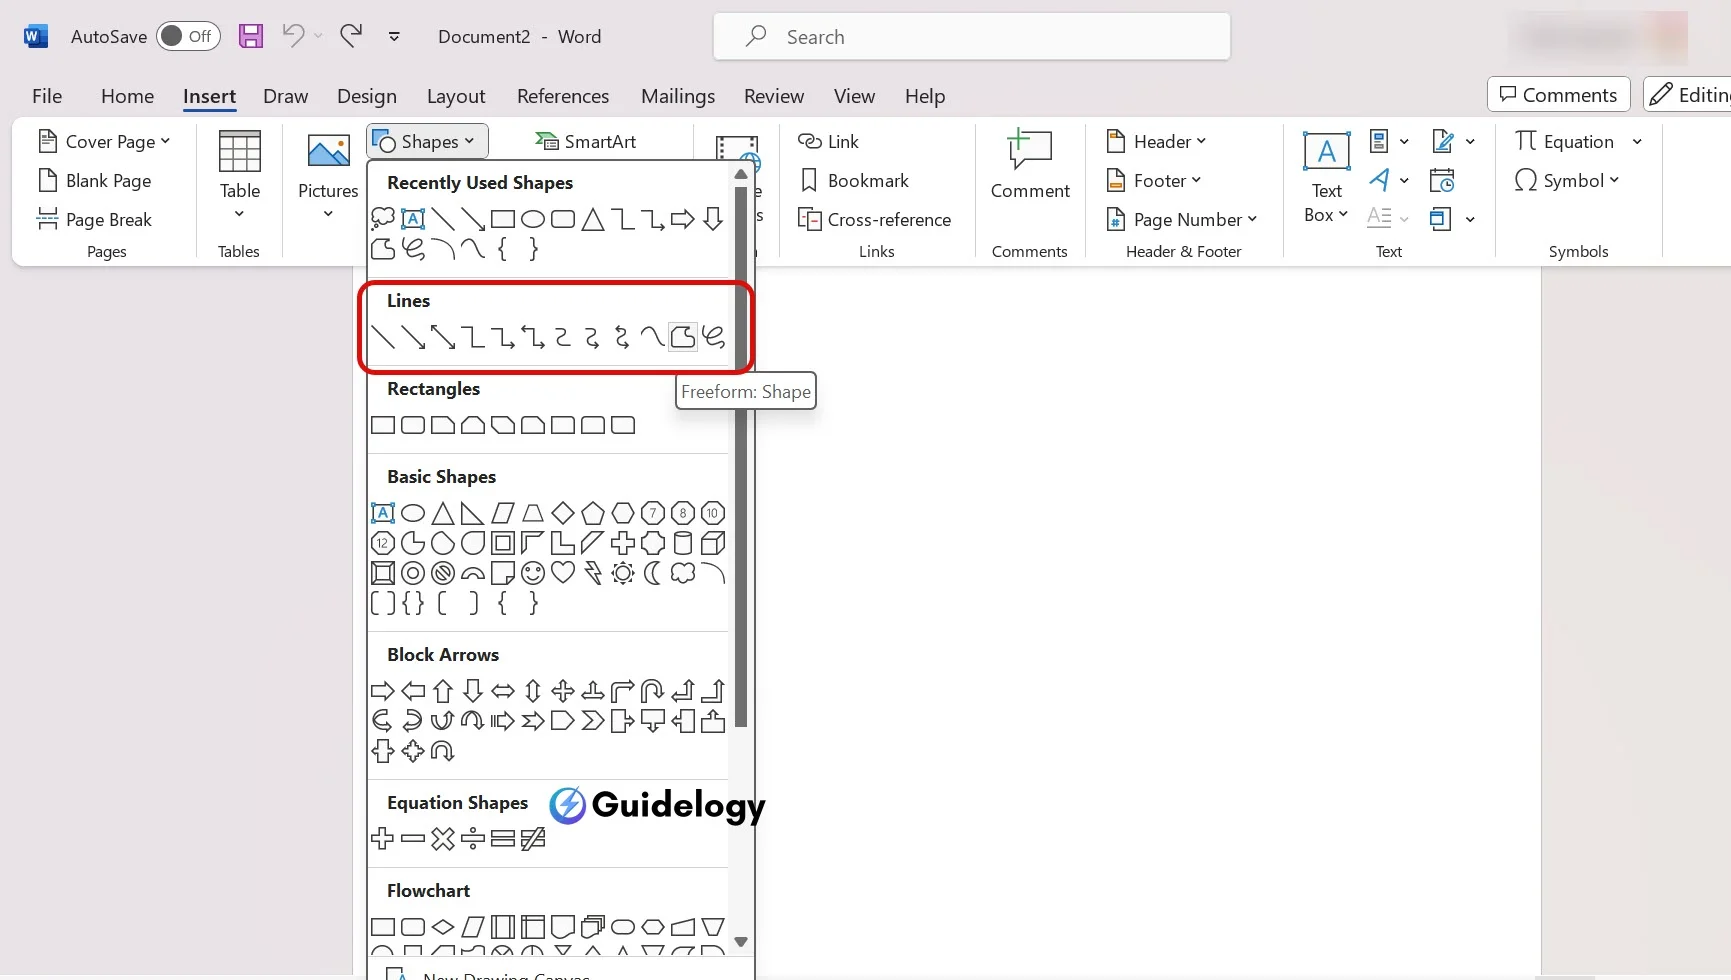
Using the Freeform Shape Tool
The Freeform Shape tool is a powerful feature in Microsoft Word that lets you draw shapes that aren’t limited to the standard gallery options. Here’s how to use it:
- Navigate to the Insert tab and select ‘Shapes’.

- Choose the Freeform Shape tool—it looks like a scribble or looping line.

- Click and drag your mouse on the document to draw freely. Click to create sharp angles and double-click to complete the shape.

With this tool, you're not just creating shapes; you're drawing illustrations that can fit perfectly into the narrative of your document. Imagine adding a unique, freehand border around significant text for emphasis or creating custom illustrations that represent data visually.
Creating Custom Shapes
Beyond freehand drawings, Microsoft Word allows for the initiation of custom shapes by combining and editing basic shapes. Here's a quick guide:
- Start by inserting various basic shapes that resemble parts of the custom shape you’re aiming to create.
- Use the Drawing Tools Format tab to align and distribute the shapes as needed.
- Select all components of your custom shape, right-click, and choose ‘Merge Shapes’. You’ll find options like Union, Combine, Fragment, Intersect, and Subtract to craft your custom design.
A practical application could be creating a unique logo for a project report or generating icons that better match the document's theme. This feature opens the door to endless creativity, providing an easy way to bring bespoke visuals into your Word documents.
Grouping and Ungrouping Shapes
Once you have your custom shapes or a collection of shapes making up a complex diagram, you might need to move them around as a single unit. This is where grouping comes into play:
- Select the shapes you want to group together by holding the Shift key and clicking on each.
- Right-click on the selection and choose ‘Group’ from the context menu.
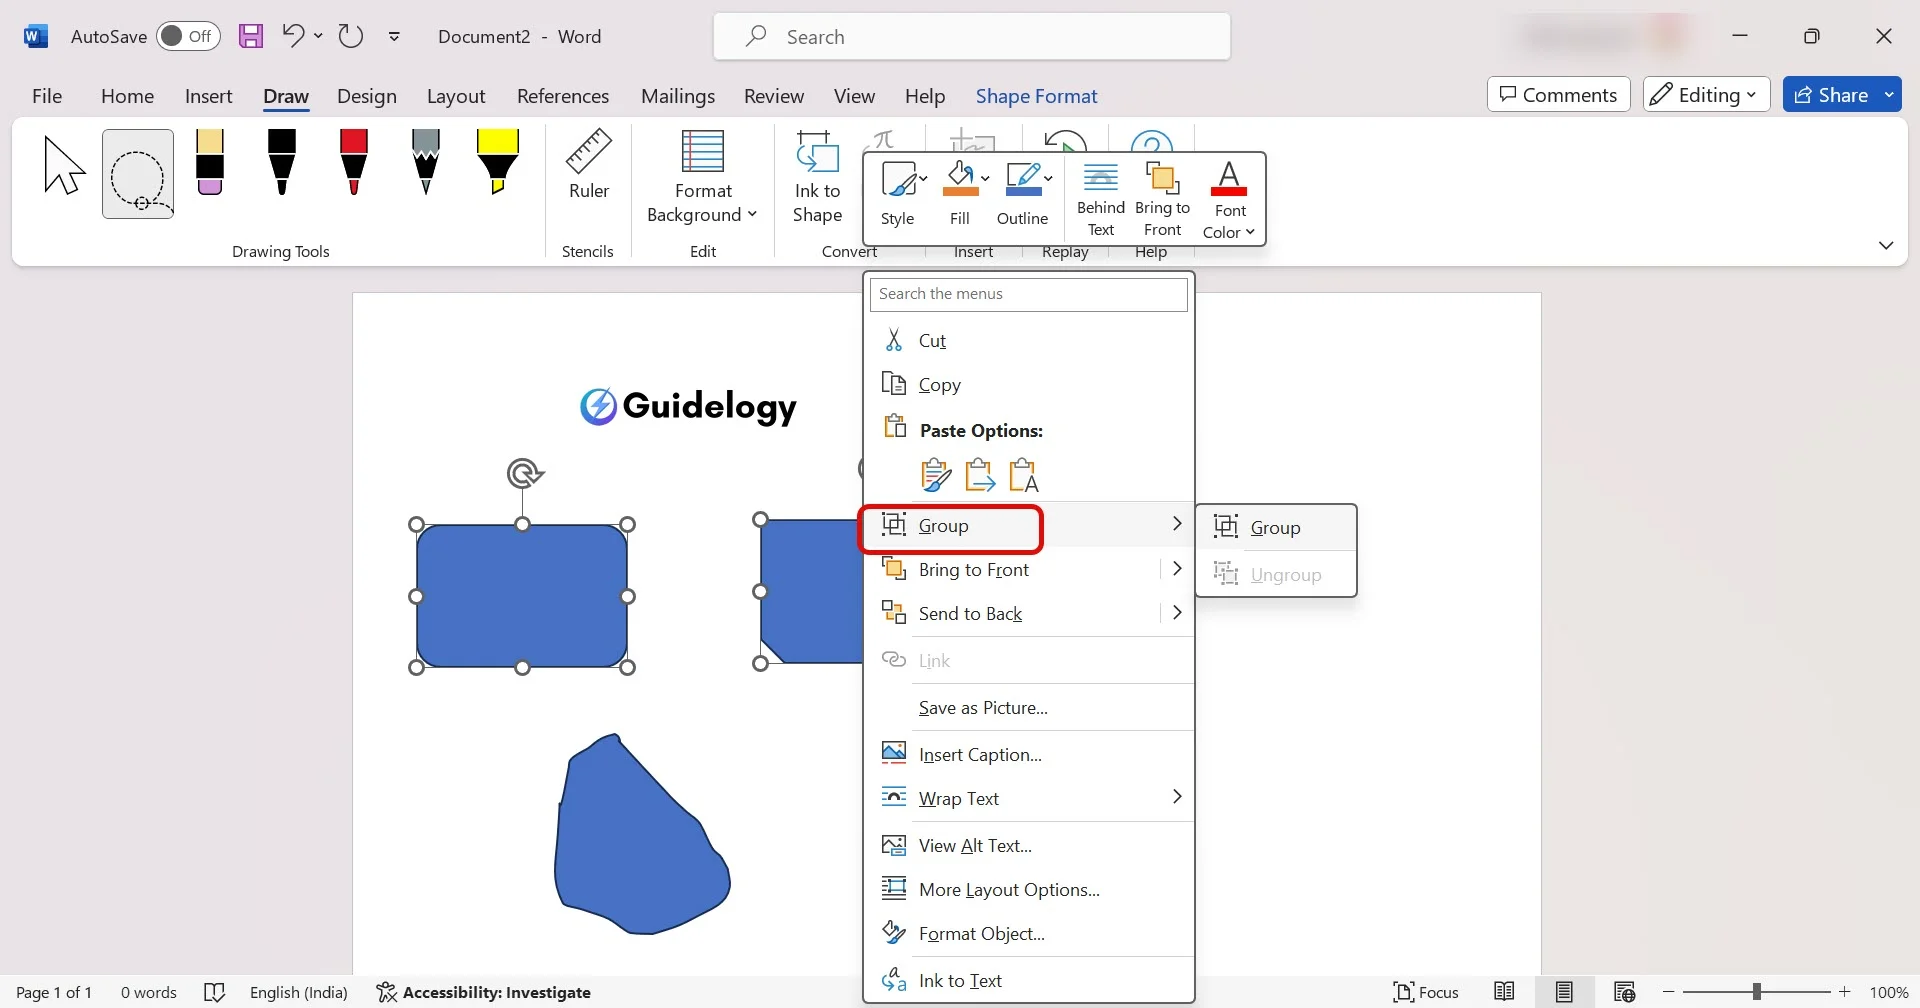
To ungroup, simply right-click on the grouped shapes and select ‘Ungroup’.
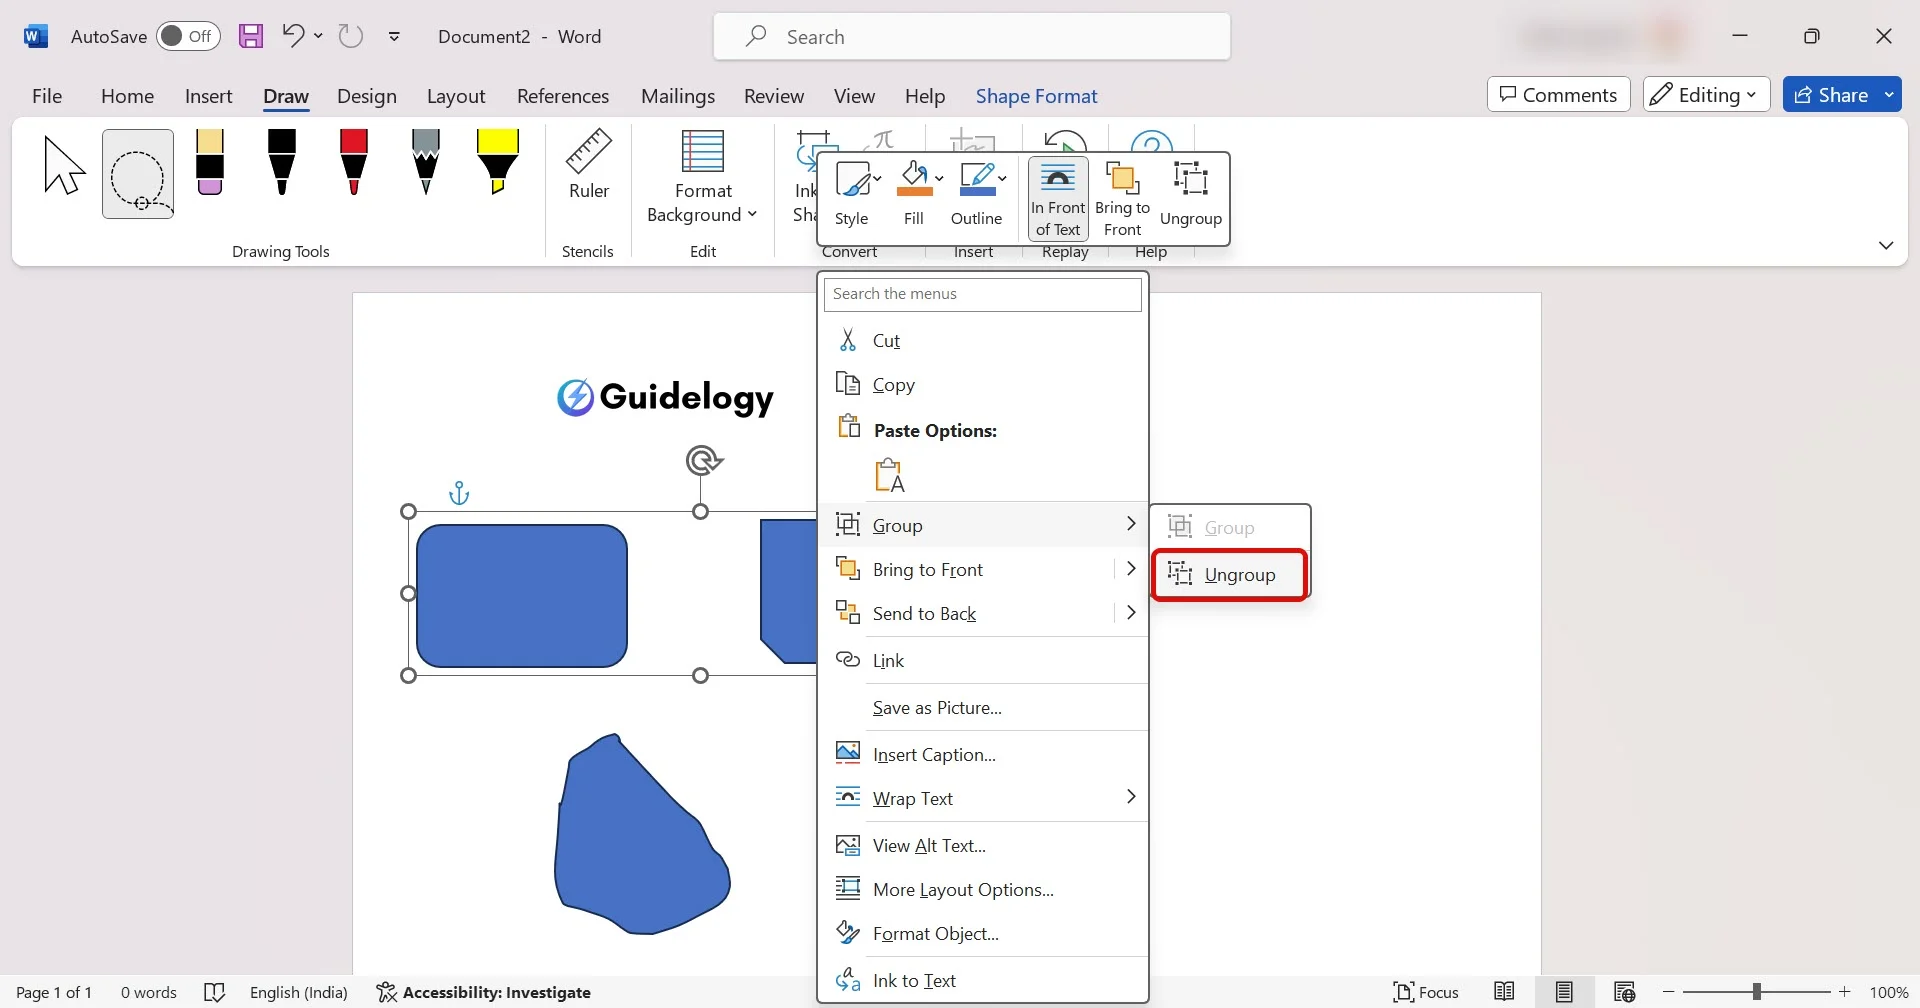
Grouping is especially useful for creating diagrams or when you need to repeatedly use a set of shapes across different documents. For instance, if you’re documenting processes with flowcharts, grouping lets you easily adjust and modify them without disrupting the overall structure.
Adding Effects and Styles
To really make your drawings stand out, Microsoft Word offers a variety of effects and styles:
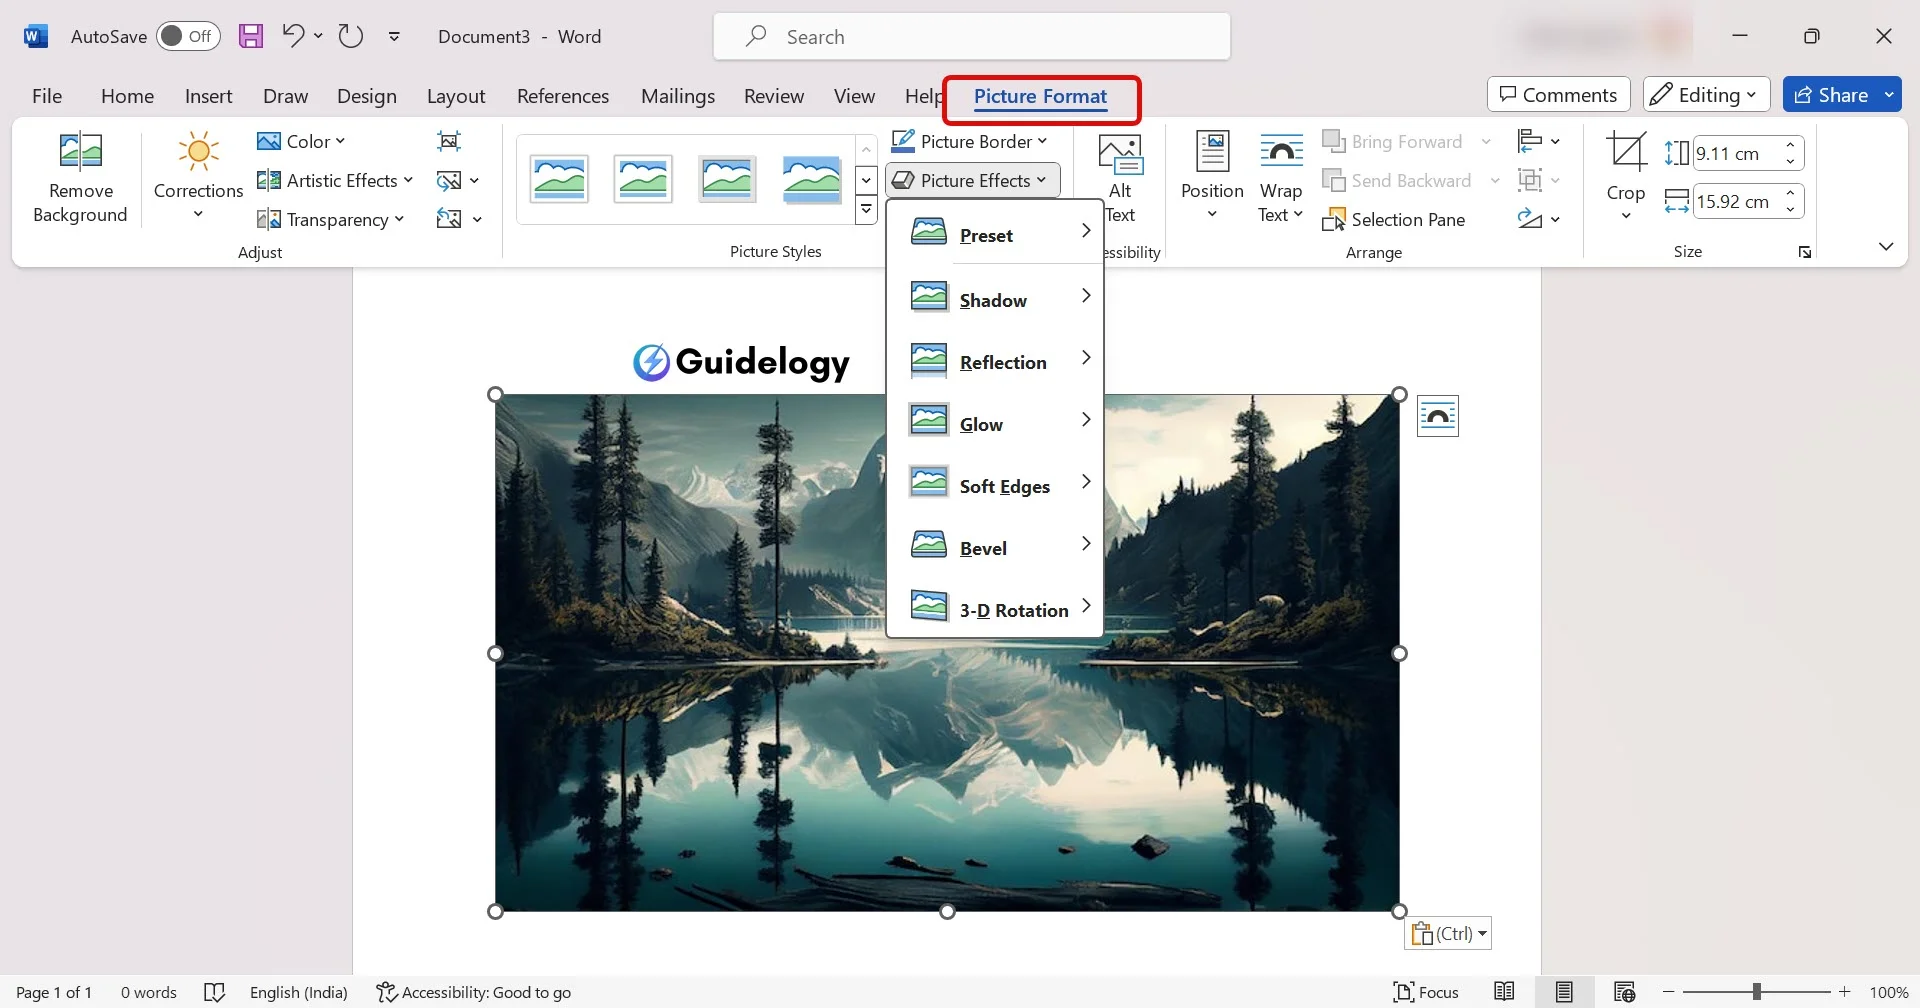
- Shadow Effects: Add depth to your shapes by selecting them and choosing ‘Shadow Effects’ under the Drawing Tools Format tab.
- Reflection and Glow: For a sleek, modern look, apply reflection or glow effects to shapes. This can be particularly impactful for buttons or special text boxes within your document.
- 3D Rotation: Give your shapes a dynamic look with 3D rotation options. This can make elements like logos or icons pop off the page.
When you use these fancy effects, you can make basic shapes look really cool. For instance, if you put a light shadow and reflection on the shapes in a flowchart, it can make the information more interesting and easier to understand for people.
By using these cool techniques, you can make your Microsoft Word documents look a lot better. Whether you're making reports, presentations, or anything else, there are so many creative things you can do with them!
Tips and Tricks for Drawing in Microsoft Word
When you want to make your Microsoft Word documents better with nice drawings, knowing some important tricks can really help. Let's check out some tips and tricks that will improve your drawings in Microsoft Word and make them look professional and attractive.
Using Gridlines and Snap to Grid
Activating gridlines in Microsoft Word is a game-changer for precise drawing and alignment. Here's how you can use them to your advantage:
- Enable Gridlines: Navigate to the “View” tab and check the “Gridlines” option. This action displays a non-printable grid over your document, helping you to place and align shapes accurately.
- Snap to Grid: For even more precision, enable “Snap to Grid” by going to “Options” under the “File” menu. In the “Advanced” tab, find the “Snap-to” settings and check “Snap objects to grid when the gridlines are not displayed.” This feature ensures that every shape you draw or move aligns perfectly with the closest gridline, eliminating guesswork and achieving symmetry.
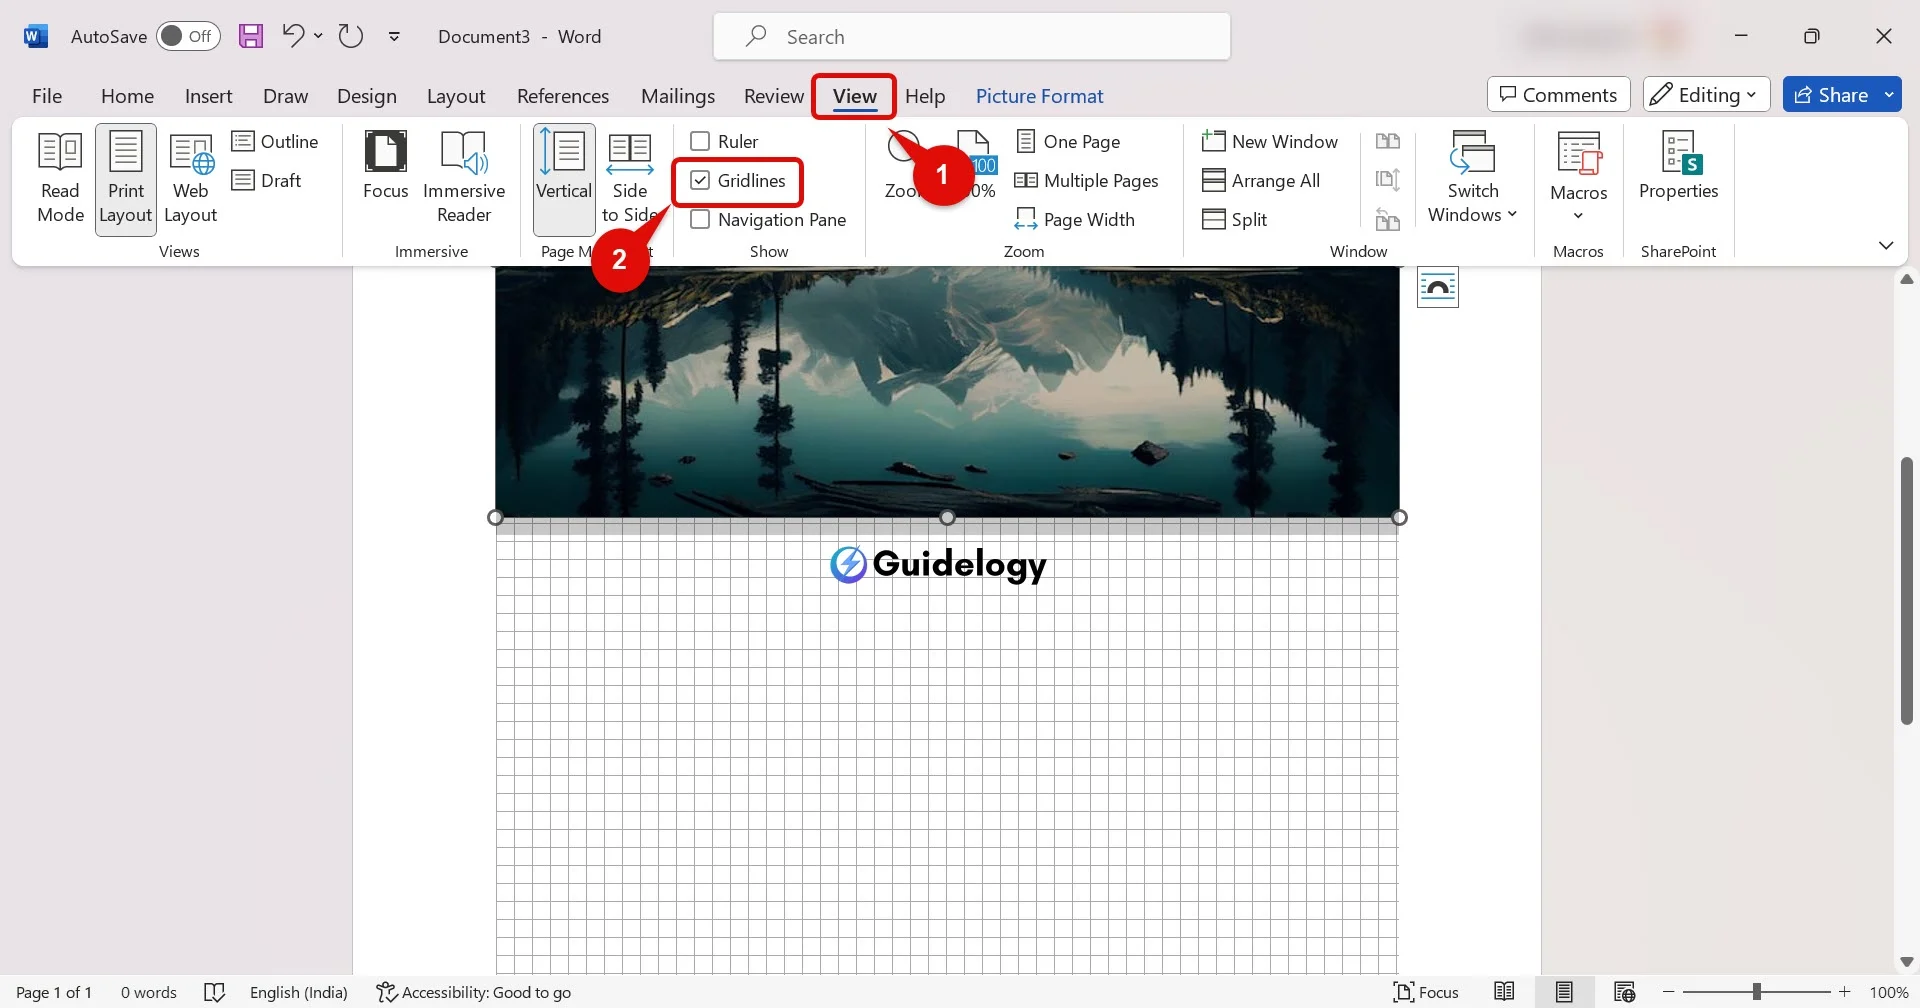

Utilizing gridlines and the snap-to function can turn a chaotic layout into a well-organized masterpiece, especially when dealing with multiple shapes or complex diagrams.
Aligning and Distributing Shapes
Alignment and distribution of shapes are crucial for a clean look. Microsoft Word offers tools to align edges or centers and distribute shapes evenly:
- Select Shapes: Click on any shape, then hold “Ctrl” and click on other shapes you want to align or distribute.
- Distribute Shapes: Under the same “Align” menu, you'll find “Distribute Horizontally” and “Distribute Vertically.” These options space your selected shapes evenly, either horizontally or vertically, based on the two outermost shapes.
- Alignment Tools: With your shapes selected, go to the “Format” tab, click on “Align,” and choose from options like “Align Left,” “Align Center,” “Align Right,” “Align Top,” “Align Middle,” and “Align Bottom.” These options align the selected shapes relative to the one furthest in the direction you’re aligning them.

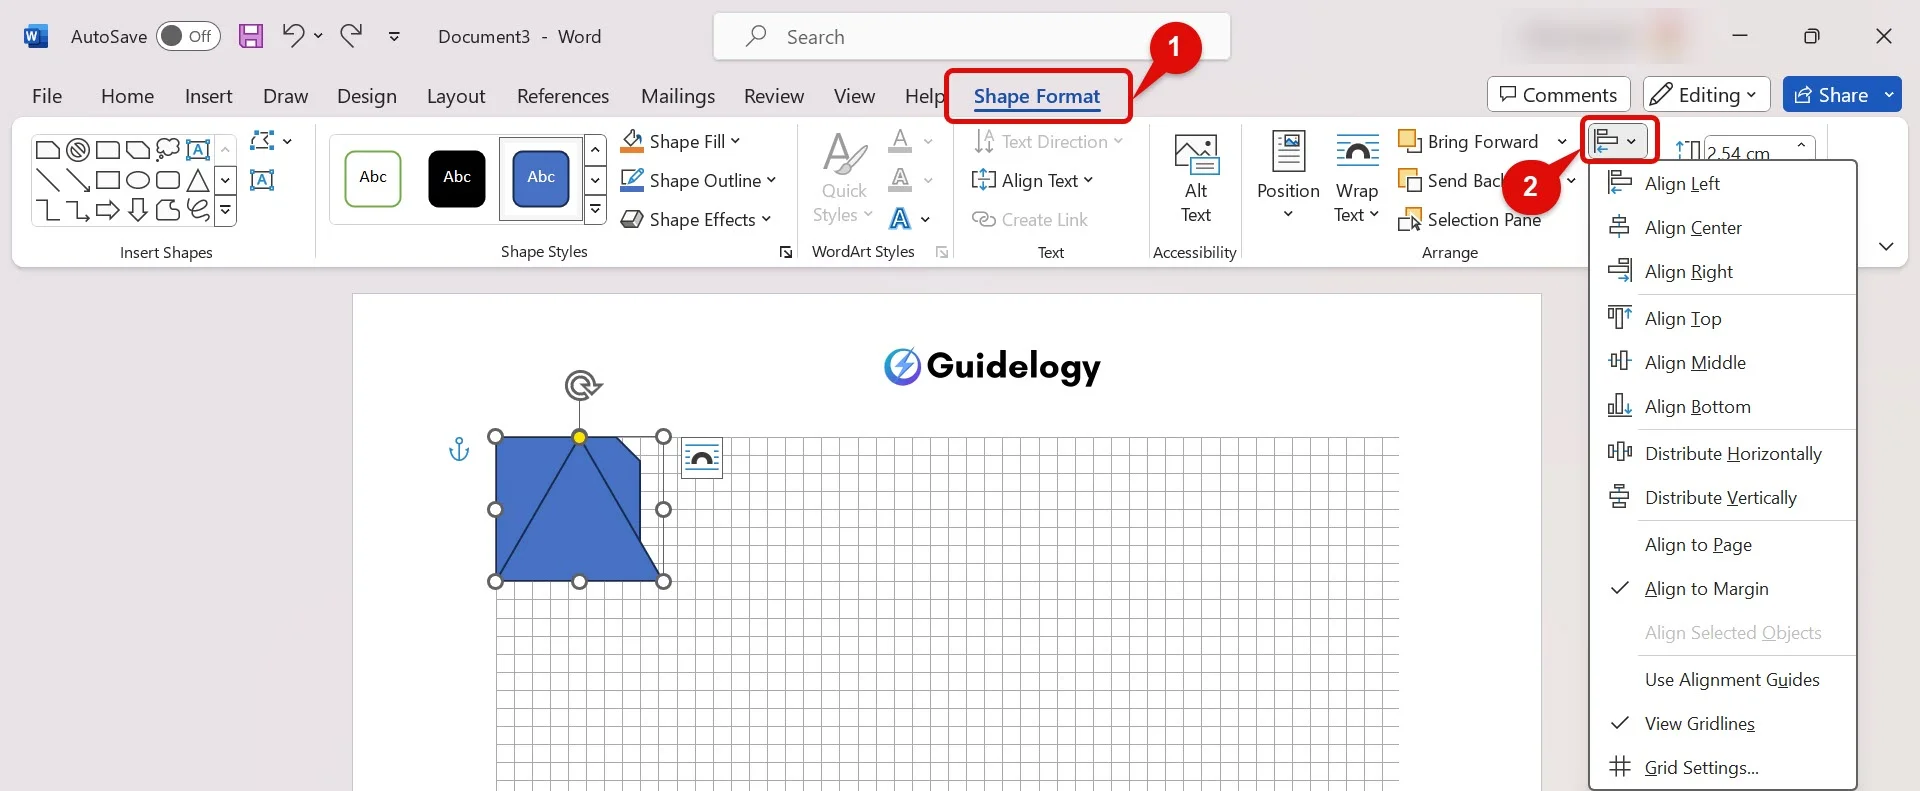
Correct alignment and distribution are essential in ensuring that your diagram or flowchart doesn’t just look professionally designed but is also easier for your audience to follow.
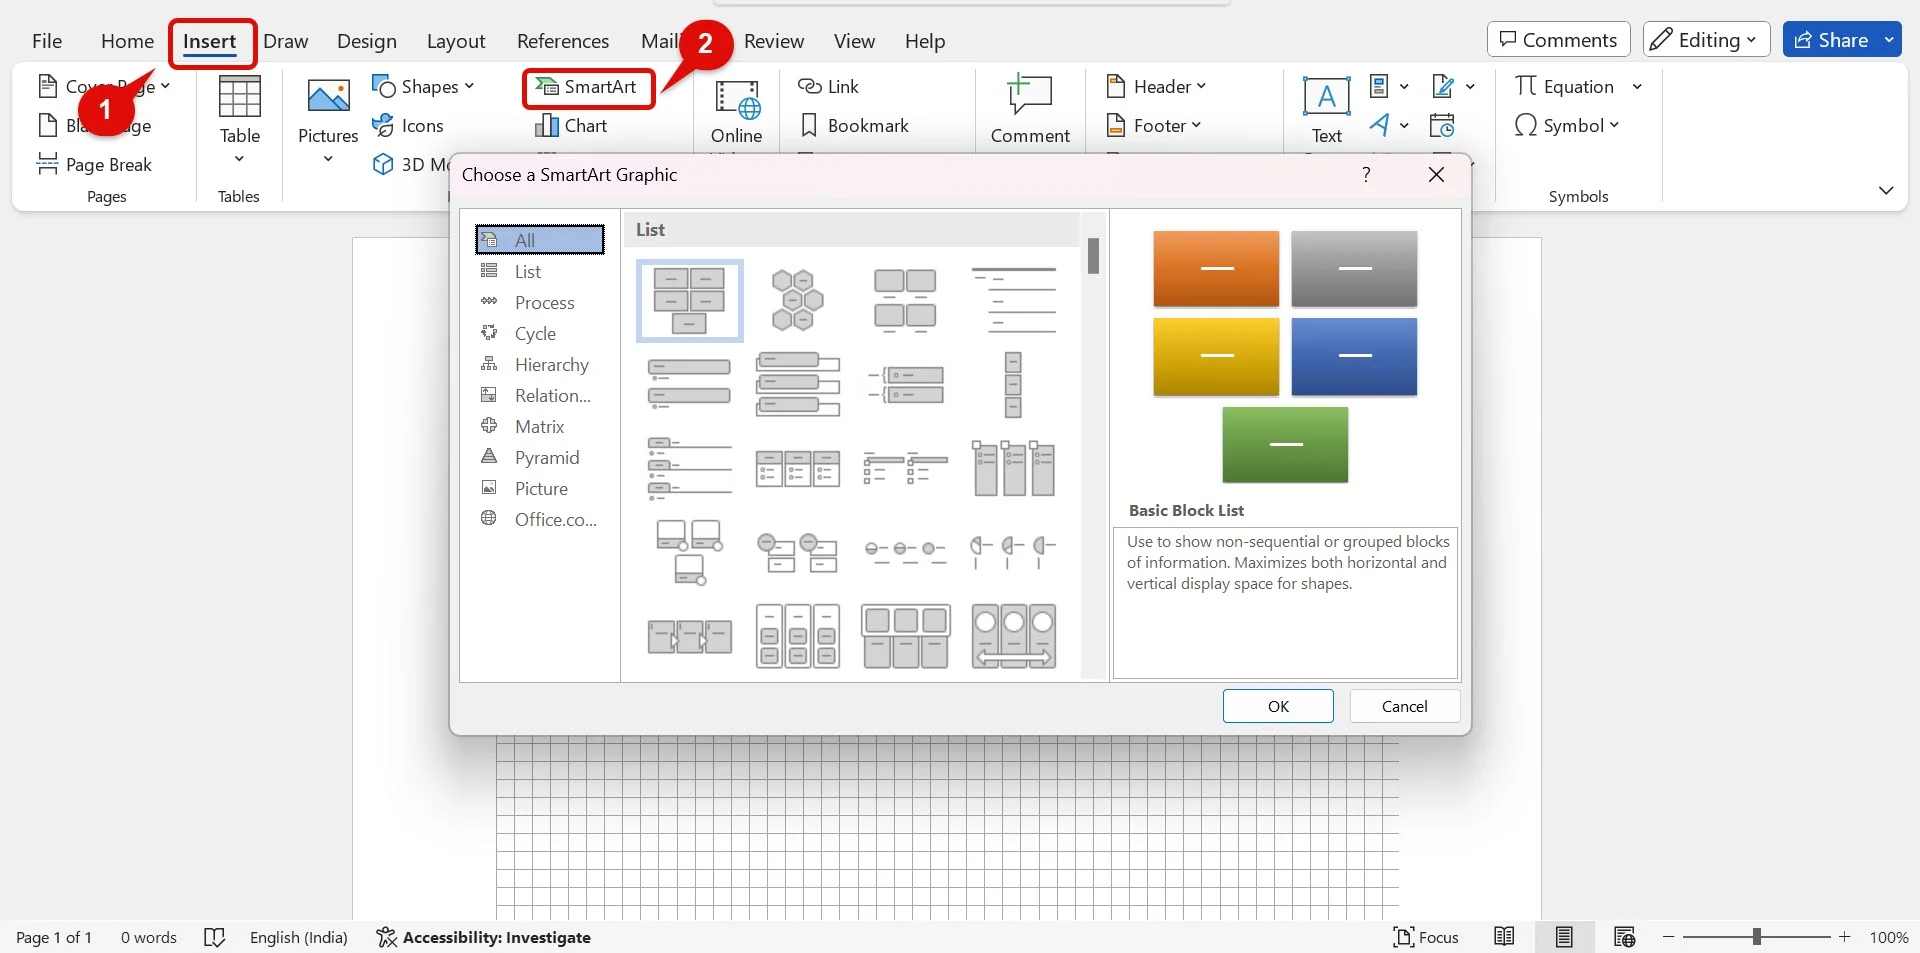
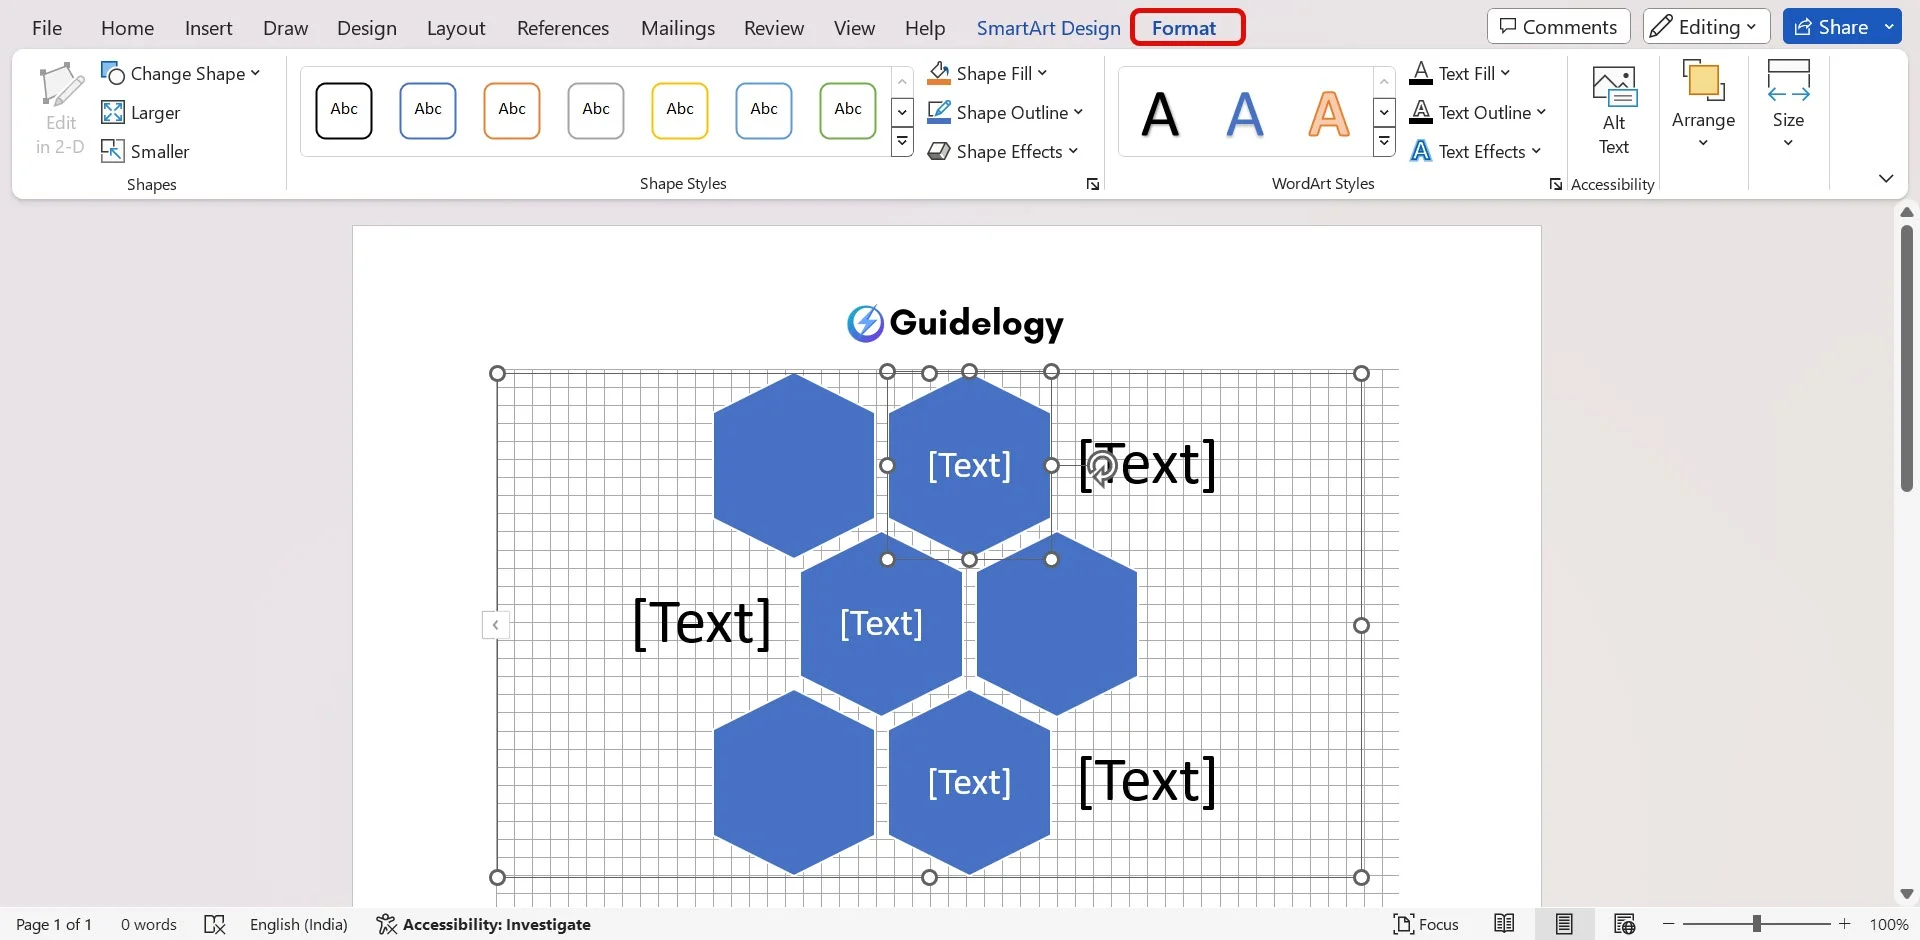
Using SmartArt Graphics
SmartArt Graphics in Microsoft Word provide a sophisticated way to create professional diagrams that include information and visual impact:
- Insert SmartArt: Go to the “Insert” tab, click on “SmartArt,” and choose the type of graphic best suited to your data or information. Examples include List, Process, Cycle, Hierarchy, Relationship, Matrix, and Pyramid.

- Customize SmartArt: After inserting a SmartArt graphic, you can easily add or remove shapes, change the color scheme, and apply styles directly from the “SmartArt Design” and “Format” tabs that appear.

- Convert Text to SmartArt: If you’ve started with a bullet list but think a graphic might present your information better, highlight your list, then choose “Convert to SmartArt” from the Home tab. This feature instantly transforms your text into a professionally designed diagram.
SmartArt Graphics are simple to use and can change text blocks into interesting visuals that help you explain difficult ideas better than just using words. When you make reports, presentations, or any other document, following these tips and tricks will improve your drawing skills in Microsoft Word. It will make your documents look impressive!
Also Read: Best Screen Recording Software For Windows 11
Conclusion
Mastering drawing in Microsoft Word can make your documents look more creative and professional. By using the tools and techniques we discussed, you can turn boring reports and presentations into visually attractive works. Remember, practice is important to improve your skills, so try different shapes, effects, and styles. With some patience and creativity, you will start creating unique illustrations that grab people's attention and convey your message effectively.
Frequently Asked Questions
How can I unleash creativity in Microsoft Word?
By utilizing advanced drawing techniques such as the Freeform Shape tool for custom drawings, combining and editing basic shapes, and applying effects and styles. Implementing these methods enhances the visual appeal of your documents.
What is the Freeform Shape tool?
The Freeform Shape tool in Microsoft Word allows you to draw custom shapes and illustrations by freely drawing points and lines. This tool is particularly useful for creating unique and personalized graphics within your documents.
How can I combine and edit shapes in Word?
You can create custom shapes in Microsoft Word by selecting multiple basic shapes and then using the Merge Shapes options under the Drawing Tools Format tab. This allows for a wide range of creativity in designing graphics.
What does grouping and ungrouping shapes do?
Grouping shapes in Word allows you to treat multiple shapes as a single object, making it easier to move, resize, and apply effects uniformly. Ungrouping breaks the shapes back into individual components for further editing.
How can I add effects and styles to my drawings?
Microsoft Word offers various effects and styles under the Format tab, such as shadow, reflection, glow, and 3D effects. These can be applied to shapes and images to make your drawings stand out.
How do gridlines and snap to grid help in drawing?
Gridlines and the snap to grid feature in Microsoft Word assist in aligning shapes and objects precisely during the drawing process. They ensure symmetry and clean alignment of the graphic elements within the document.
What's the best way to align and distribute shapes?
The best way to align and distribute shapes in Microsoft Word is by using the Align tool under the Drawing Tools Format tab. This tool ensures that shapes are evenly spaced and perfectly aligned, offering a professional look.
Can SmartArt Graphics be used for professional diagrams?
Yes, SmartArt Graphics in Microsoft Word are designed to create professional diagrams easily. They provide a variety of predefined templates for various types of information structures, such as hierarchies, processes, or relationships, streamlining the creation of complex diagrams.